SSL and your own certificates
The SSL tab controls HTTPS for each domain in production.
- Turn on SSL for the domain.
- Choose a certificate: Let's Encrypt (free, issued automatically) or your own certificate that you have added.
- Click Save.
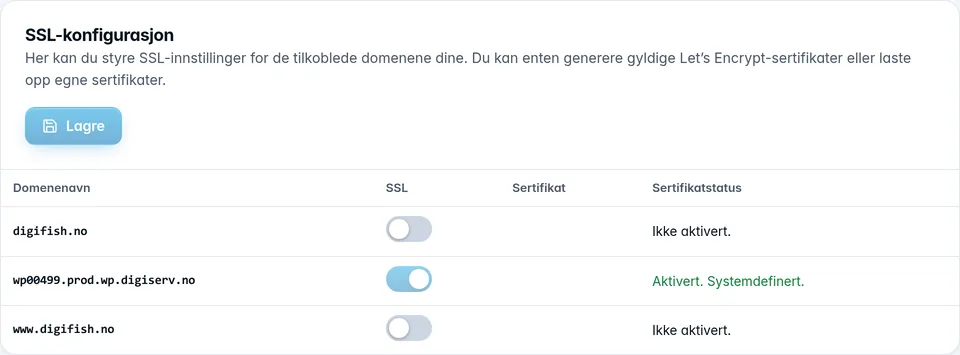
A Let's Encrypt certificate can only be issued when the domain points to the web hosting account in DNS. If it does not, you get a message explaining what is wrong. If you have just changed DNS, you can click Try anyway. See DNS.
Certificate status shows where things stand:
- Activated. Let’s Encrypt. or Activated. Custom certificate.: everything is in order.
- Activated. System-defined.: the system address. It is managed by us and cannot be turned off.
- Activation failed. Please try again.: check DNS and save again.
- Enabled, but the certificate is missing on the server.: click Save to issue it again.
Add your own certificate
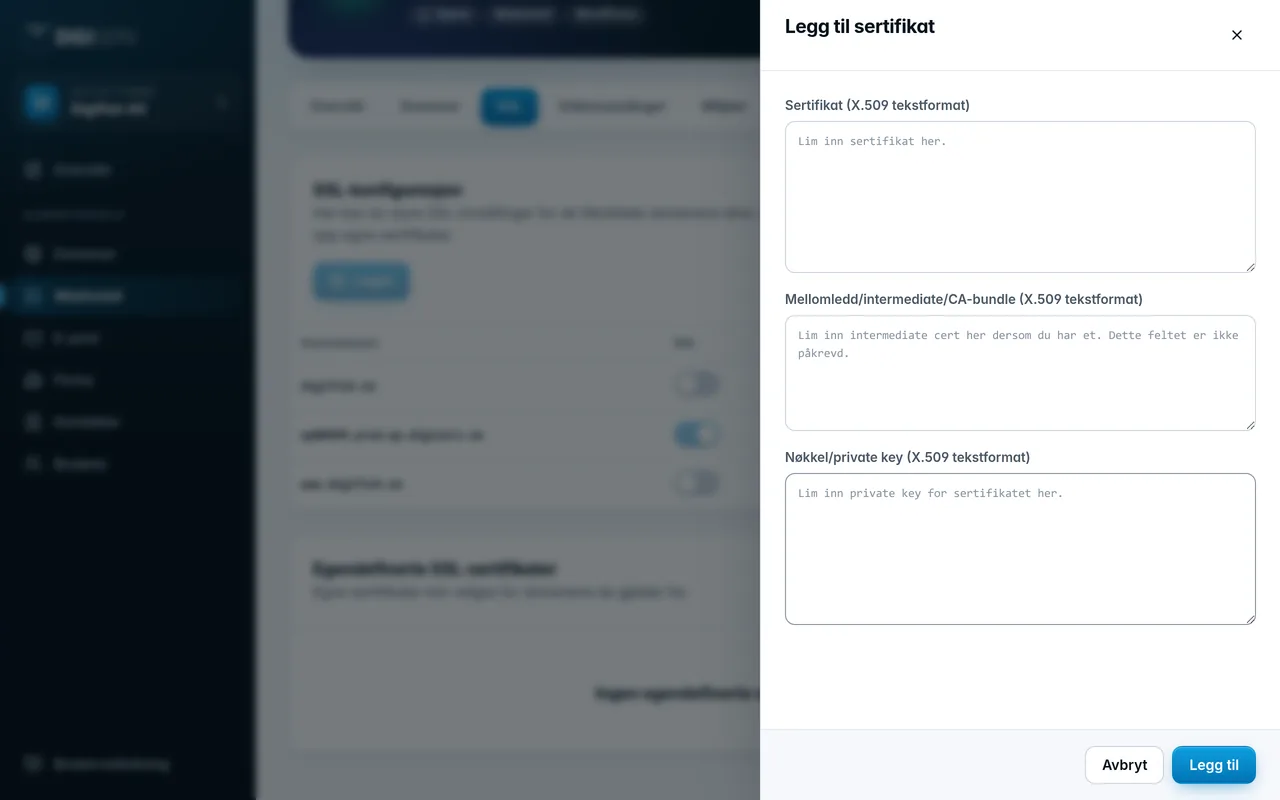
- Click Add certificate under Custom SSL certificates.
- Paste the certificate, the intermediate certificate (CA bundle) if you have one, and the private key, all in text format.
- Click Add.
The certificate then appears in the list with the domains it covers and the expiry date. Select it for the domain in the table above, and save.
Was this page helpful?