iPhone and iPad
iPhone and iPad can't find our server settings on their own, but we have a page that creates a ready-made setup profile for you. You enter your name and email address, and you're asked for your password once during installation. Everything else is in place.
Set up with a profile
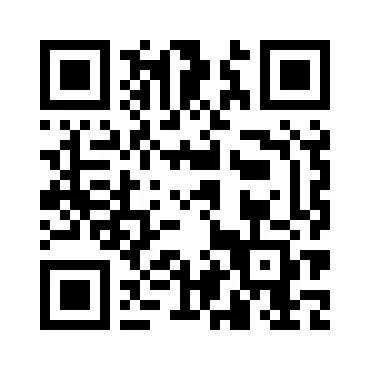
- Open webmail.digiserv.no/epost-profil on your iPhone or iPad, or scan the QR code with the camera. The link is also at the bottom of the webmail login page.
- Enter your full name, the way recipients should see it, and your full email address. Tap Download profile.
- Tap Allow when the browser asks to download the profile, then open Settings. At the top it says Profile Downloaded. Tap it.
- Tap Install at the top right, and enter the passcode you use to unlock the device. Tap Install again.
- Enter the password for your email account. The username is already filled in for both the incoming and outgoing server.
- Tap Done. The account is now in Mail.
To see the settings later: Settings, Apps, Mail, Mail Accounts.
Manual setup
- Open Settings, and choose Apps, Mail and Mail Accounts. On older iOS: Settings, Mail, Accounts.
- Tap Add Account, Add Other Account and Mail Account.
- Enter your name, email address, password and a description, for example “Work”. Tap Next and choose IMAP.
- Under Incoming Mail Server: host name
imap.digiserv.no, your full email address as the username, and your password. - Under Outgoing Mail Server: host name
smtp.digiserv.no, and your username and password again. Fill them in even though the fields say “Optional”. Otherwise you can receive but not send. - Tap Next. The phone tests the connection for up to half a minute. Tap Save.
The ports are set to 993 and 587 automatically. To check them, open the account and choose Account and Advanced.
Was this page helpful?