Aliases
An alias is an extra address that's delivered to an existing account. The alias has no password or inbox of its own. Typical uses are info@, sales@ and contact@, read by one person.
- Go to the Aliases tab and click New alias.
- Under Account, choose the account the email should be delivered to.
- Enter the new address under Alias, and click Create alias.
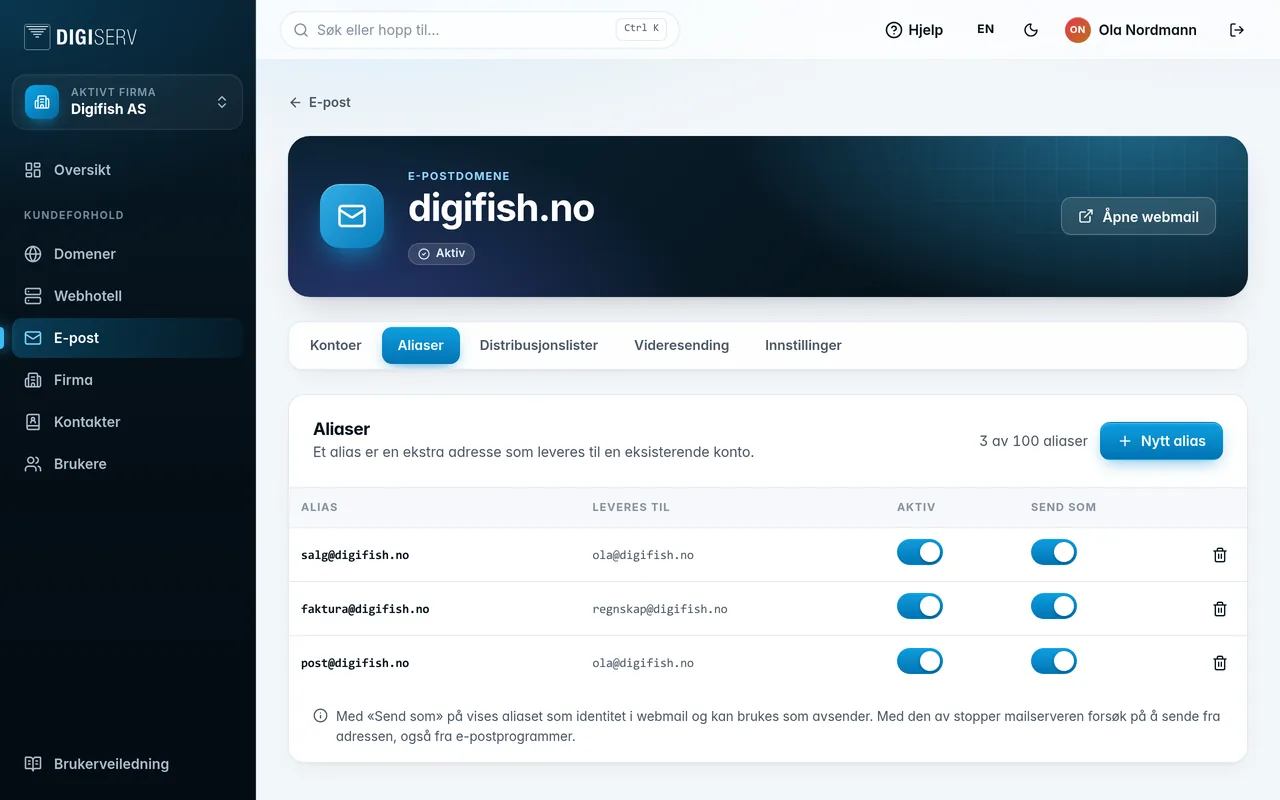
The domain must have at least one account before you can create aliases. Each row has two switches:
- Active turns the alias on and off. A disabled alias doesn't receive email, but stays in place so you can turn it back on.
- Send as determines whether the user can send email from the alias. With the switch on, the alias shows up as an identity in webmail and can be used as the sender. With the switch off, the mail server blocks attempts to send from the address, including from email apps.
The trash can on the row deletes the alias, and the address stops receiving email. An account can have at most 20 aliases, and the domain has its own limit, shown at the top of the tab.
Was this page helpful?